


How to Adjust Car Headlights for Better Night Driving

Proper headlight alignment is a crucial yet often overlooked aspect of vehicle maintenance. Misaligned headlights can reduce visibility, blind oncoming drivers, and increase the risk of accidents—especially during night driving or in poor weather. This guide walks you through the importance of correct headlight adjustment, common causes of misalignment, and how to fix it yourself.
Why Headlight Adjustment Matters
Correctly aligned headlights ensure a clear, even beam pattern that lights up the road without dazzling other drivers. Whether you're upgrading to aftermarket lights like VLAND or just maintaining your factory setup, proper alignment provides:
- Improved night-time visibility
- Better detection of road signs, obstacles, and pedestrians
- Reduced glare for oncoming traffic
- Compliance with road safety regulations
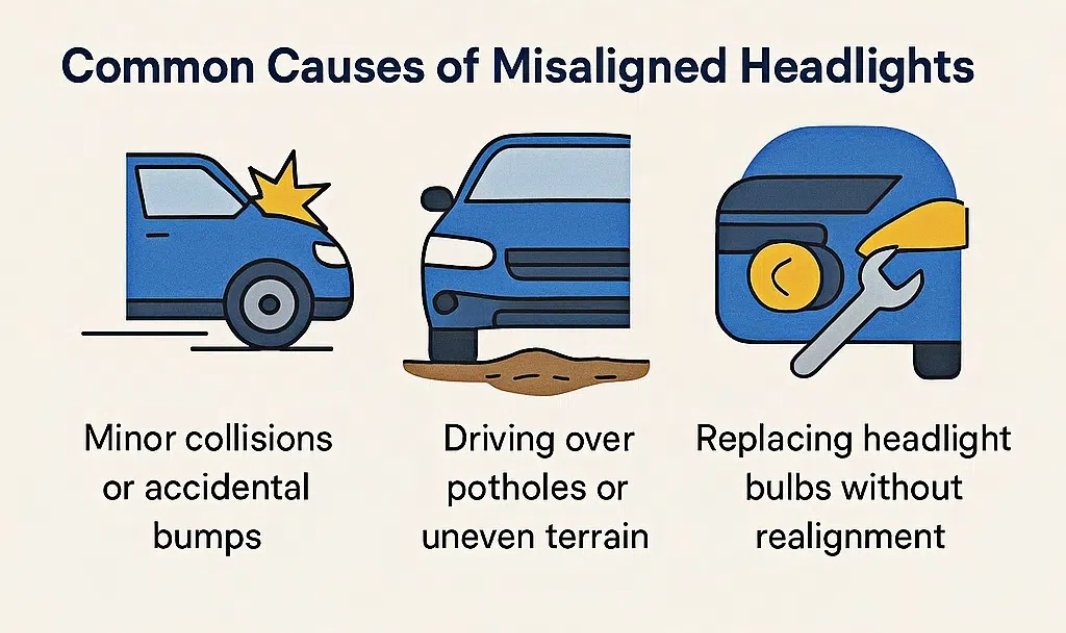
Common Causes of Misaligned Headlights
Several factors can cause your headlights to shift out of alignment:
- Minor collisions or accidental bumps
- Driving over potholes or uneven terrain
- Sagging suspension or worn components
- Replacing headlight bulbs without realignment
Tools You’ll Need
- Screwdriver (Phillips or flat-head, depending on vehicle)
- Adhesive tape or a dry-erase marker
- Measuring tape
- Wall or garage door for aiming reference
- Pencil or chalk
Step-by-Step Headlight Adjustment Guide

1. Choose a Flat Surface and Wall
Park your car on level ground about 25 feet (7.5 meters) from a vertical surface (like a garage door or wall). Make sure your tires are properly inflated and your fuel tank is at a normal level.
2. Mark the Reference Lines
Turn on your low beams. Use tape or marker to draw:
- A horizontal line across the center of both beams
- A vertical line aligned with the center of each headlight
3. Locate the Adjustment Screws
Open the hood and find the vertical and horizontal adjustment screws behind each headlight housing. Refer to your vehicle manual if unsure.
4. Adjust the Horizontal Aim
Using a screwdriver, rotate the horizontal screw to move the beam left or right. Align the center of the beam with the vertical tape line on the wall.
5. Adjust the Vertical Aim
Turn the vertical screw to raise or lower the beam. The top of the beam should align just below the horizontal tape line.
6. Repeat for High Beams and Fog Lights (If Equipped)
Switch to high beams and adjust as needed. Fog lights should be aimed low and flat to prevent glare.
7. Test on the Road
Take a short test drive to ensure balanced and effective illumination. Check for dark spots, glare, or uneven light patterns.

Frequently Asked Questions
What Is a Horizontal Centerline?
The horizontal centerline is an imaginary line across the center of your headlight beams. Aligning both beams to this line ensures symmetrical output and proper road coverage.
How Do I Know If My Headlights Are Misaligned?
Watch for signs such as uneven lighting, reduced road visibility, or other drivers flashing their lights at you. If your beam patterns shift or become inconsistent, it may be time for an adjustment.
Takeaway
Correct headlight adjustment enhances both your driving safety and that of others on the road. By following these simple steps—and using the correct tools—you can maintain optimal visibility and prevent dangerous glare.
If you're unsure or need assistance, consult a professional technician or your local vehicle standards authority.
Join Our Affiliate & Ambassador Program
At AU.Vlandshop, we’re committed to promoting road safety through better lighting. If you’d like to earn by spreading the word about our products, join our affiliate program today:
- Up to 5% commission on sales through our website